
The Kettlebell Windmill: Where Mobility Meets Strength
Master the kettlebell windmill with this step-by-step technique guide. Build shoulder stability, hip mobility, and core strength in one movement.
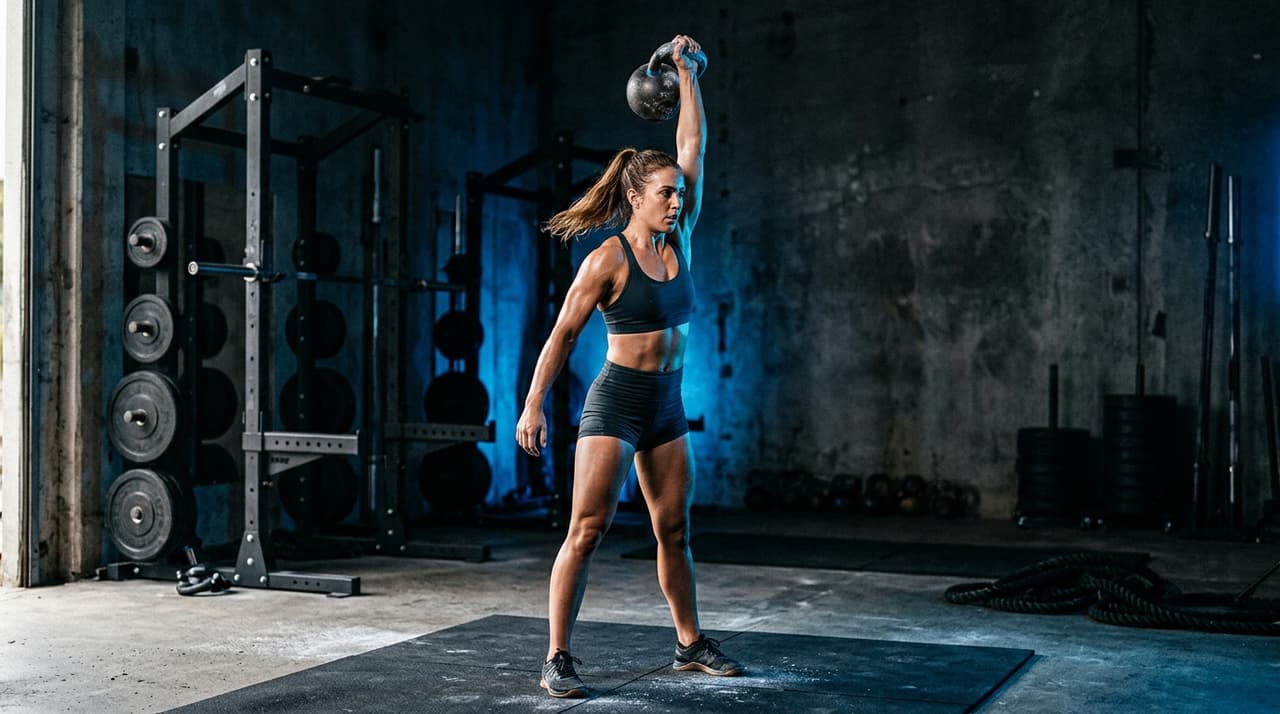
The kettlebell windmill doesn't get enough attention. While swings, cleans, and snatches dominate most programs, the windmill quietly builds shoulder stability, thoracic rotation, and hip mobility that makes everything else work better. It's one of the few exercises that loads the body in the frontal plane under a stabilized overhead weight, which matters for athletes who spend most of their training in the sagittal plane.
Let's break down exactly how to perform it, why it works, and how to program it into your kettlebell or steel mace training.
What the Windmill Actually Does
The windmill is a hip hinge performed with lateral flexion of the trunk while one arm holds a kettlebell locked out overhead. That description is mechanically accurate but doesn't capture why it's so effective.
Here's what's happening:
- Shoulder stability under load: The overhead arm must remain vertical throughout the movement. This requires the rotator cuff, lower trapezius, and serratus anterior to fire continuously in a stabilizing role. A 2019 study published in the Journal of Sports Science & Medicine found that overhead loaded movements with a rotational component produced significantly higher activation of the infraspinatus and lower trap compared to standard overhead presses.
- Hip mobility through active range of motion: You're not just passively stretching your hamstrings. You're loading them eccentrically as you hinge, which builds usable mobility rather than just flexibility.
- Thoracic rotation and lateral flexion: The trunk rotates and bends as you descend, training the obliques and quadratus lumborum in a lengthened position. This is uncommon and valuable.
- Core anti-rotation: The offset load from the kettlebell creates a rotational demand that your core must resist. Think of it as a moving plank with a weight overhead.
Step-by-Step Technique Breakdown
Setup
- Clean and press (or snatch) a kettlebell to the lockout position with your right hand.
- Turn your feet so they're angled about 45 degrees to the left. Your left foot points roughly in the direction you'll hinge toward.
- Shift your right hip out to the side, directly under the kettlebell. This is important. The hip kick is what initiates the movement, not bending your spine.
- Your eyes stay on the kettlebell for the entire movement. Don't look away.
The Descent
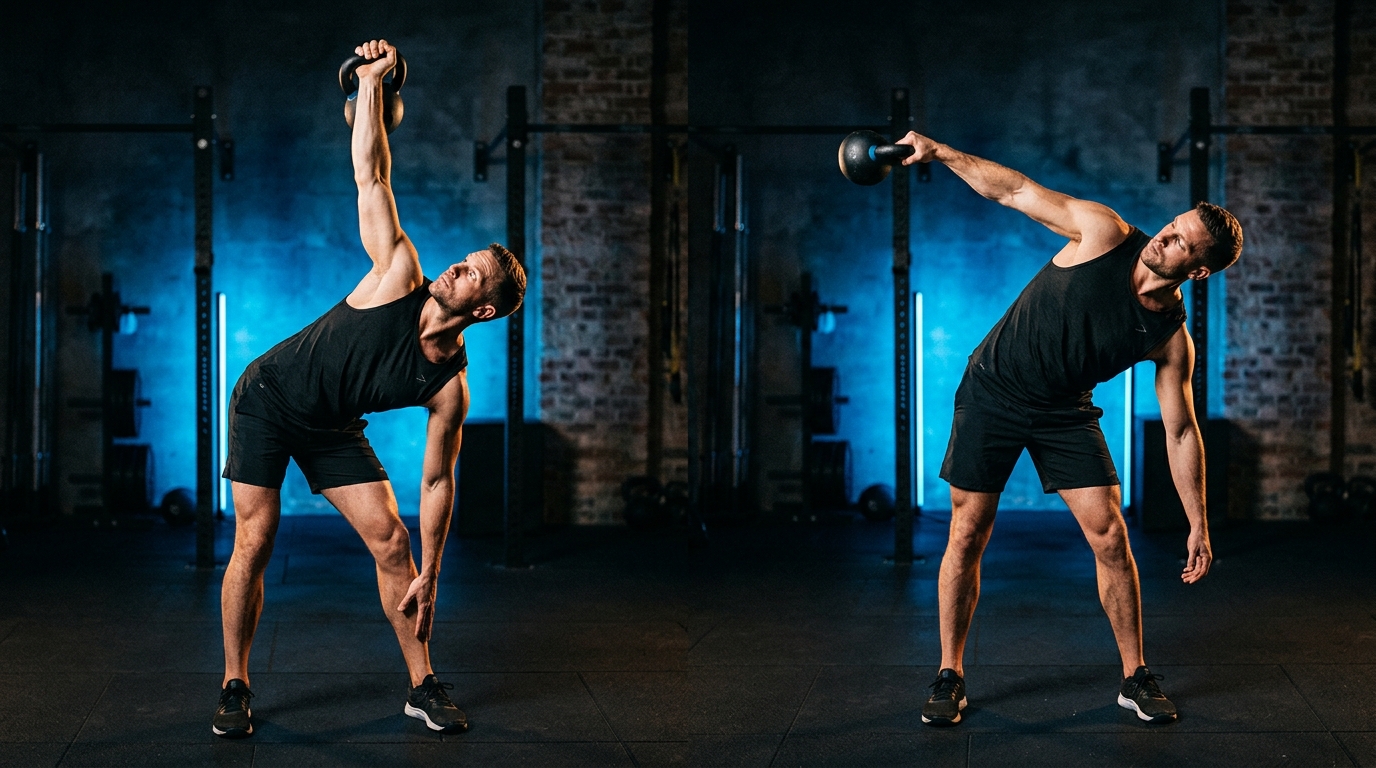
- Push your right hip further out to the side as you begin to hinge.
- Your left hand slides down the inside of your left leg (or in front of it, depending on your proportions).
- Keep your right arm completely vertical. The kettlebell should look like it hasn't moved at all to someone watching from the front.
- Your left knee can have a slight bend, but the right leg (back leg) stays straight. Some coaches teach the opposite. Here's the deciding factor: whichever version allows you to keep the weight stacked over your base of support without your shoulder collapsing forward is the right one for your body.
- Descend until your left hand touches the floor, your left shin, or wherever your current mobility allows.
The Ascent
- Drive your hips forward and pull yourself back to standing by contracting the obliques on the loaded side.
- The kettlebell stays vertical the entire time. If it drifts forward or to the side, the weight is too heavy or you're losing focus on the shoulder pack.
Common Mistakes and Fixes
| Mistake | What's Happening | Fix |
|---|---|---|
| Elbow bends during descent | Tricep fatigue or lack of overhead stability | Use a lighter bell, or practice bodyweight windmills first |
| Weight shifts to the toes | Hinging from the spine, not the hips | Cue "push your hip to the wall behind you" |
| Eyes leave the kettlebell | Habit or neck mobility limitation | Keep your gaze locked on the bell. If your neck can't rotate that far, work on cervical mobility separately |
| Knee of the front leg collapses inward | Poor hip control or weak glute med | Slow down the tempo and add banded clamshells as a warmup |
| Rushing through the movement | Treating it like a conditioning exercise | The windmill is a strength and mobility exercise. 3-5 second descents are appropriate |
Breathing During the Windmill
If you've read our guide on breathing patterns for heavy swings and cleans, you know that breathing strategy changes based on the demand of the movement.
For the windmill, here's what works:
- Inhale at the top before you begin your descent. This pressurizes the core.
- Exhale slowly through pursed lips as you descend, maintaining partial intra-abdominal pressure.
- Inhale again at the bottom if you pause (recommended for beginners).
- Exhale on the way up, or hold a partial breath if the weight is heavy.
Don't hold your breath for the entire rep. The windmill is too slow for that, and you'll get lightheaded, especially with the head turned upward.
Programming the Windmill
The windmill isn't a conditioning tool. It's a skill and strength exercise that works best with lower reps and focused attention.
Beginners (first 2-4 weeks):
- Bodyweight only. 3 sets of 5 reps per side.
- Focus on the hip hinge pattern and keeping the free hand's path smooth.
Intermediate (comfortable with the pattern):
- Light to moderate kettlebell. 3-4 sets of 3-5 reps per side.
- Tempo: 3 seconds down, 1 second pause at the bottom, 2 seconds up.
Advanced (looking for a challenge):
- Double windmill (kettlebell overhead and in the bottom hand). 3-5 sets of 2-3 reps per side.
- Or program heavy singles as a strength movement. Work up to 1/3 of your strict press weight for sets of 3.
The windmill pairs well with grinds like the Turkish get-up or heavy presses. It also works as active recovery between sets of swings or snatches when you're using progressive overload strategies that emphasize density or volume.
If you're programming windmills into timed training blocks, FlowTimer makes it easy to set custom intervals with long enough work periods to complete your reps at the right tempo. A 45-second work / 30-second rest interval works well for sets of 3 per side.
Who Should and Shouldn't Do Windmills
The windmill is excellent for:
- Overhead athletes and anyone pressing heavy kettlebells regularly
- People with tight hamstrings who want to build loaded mobility
- Grapplers and rotational sport athletes who need anti-rotation strength
- Anyone rehabbing a shoulder (with appropriate loading, cleared by a professional)
Avoid the windmill if:
- You have an active shoulder impingement that worsens with overhead loading
- You can't maintain a stable overhead lockout with a light bell for 30 seconds
- You have significant lumbar disc issues (the lateral flexion under load may be contraindicated)

The Takeaway
The windmill builds qualities that most kettlebell exercises don't target directly: lateral stability, loaded mobility, and slow, controlled strength through a full range of motion. It won't make your heart rate spike. It won't leave you gasping. But after a few weeks of consistent practice, you'll notice your presses feel more stable, your hips move better, and your trunk feels stronger.
Start light. Go slow. Keep your eyes on the bell. That's really all there is to it.
Ready to put this into practice? FlowTimer lets you build custom interval workouts, set precise work-to-rest ratios, and train with audio cues so you can focus on your form.
Try FlowTimer Free