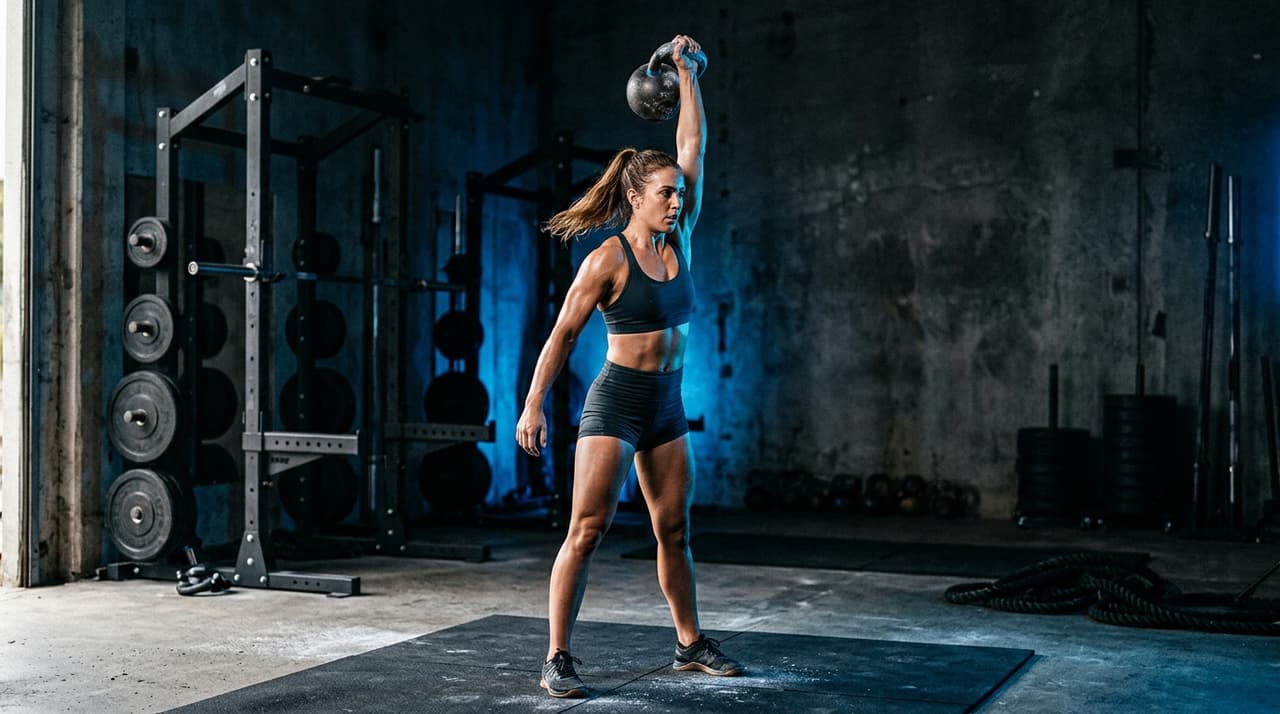

Turkish get-up: a step-by-step breakdown that actually makes sense
A practical, step-by-step guide to the Turkish get-up with cues that work, common errors, and how to program it without burning out.
The Turkish get-up is one of those lifts everyone agrees is good for you and almost nobody does well. I've watched gym-strong lifters with a 200-pound press flop around under a 16kg bell because they treated the get-up like a single movement instead of seven distinct positions stitched together. That's the whole secret, by the way. Stop trying to do a get-up. Start trying to nail seven shapes in sequence.
This article is the breakdown I wish I'd been handed years ago. Specific cues, real failure points, and how to actually program the lift without making it your entire training session.
Why the get-up is worth the patience
A 2013 study by Andersen et al. in the Journal of Strength and Conditioning Research found that get-up loading produced significant trunk muscle activation across the obliques, rectus abdominis, and erector spinae, with patterns that varied meaningfully across positions. This means you're not training one thing. You're training stability through changing positions under load. That's rare in a gym setting and exactly what most lifters lack.
The shoulder demand is the other half. Holding a loaded arm overhead while your base of support shifts from supine to half-kneeling to standing forces the rotator cuff and serratus to work in ways no overhead press can replicate. If you press kettlebells, the get-up is the assistance lift that protects the shoulder you're trying to build.
The seven positions
I'm going to walk through these in the order you'll perform them. The right-arm version is described. Reverse for left.
1. The setup (fetal roll-up)
Lie on your right side, curled around the kettlebell like you're protecting it. Two hands on the handle. Roll onto your back, pulling the bell into your chest. Press it up with both hands, then let go with the left. Right arm locked out, wrist neutral, knuckles to the ceiling.
Right knee bent, foot flat. Left leg straight at roughly 45 degrees. Left arm out at 45 degrees, palm down. This setup matters more than people think. A sloppy start guarantees a sloppy finish.
2. The roll to elbow
Drive through your right foot and punch the bell straight up toward the ceiling. Don't crunch up. Roll up onto your left elbow by pushing the floor away with your left arm. Your eyes stay on the bell.
The most common error here: bending the loaded arm. If your right elbow softens, the bell drifts behind your head and you're done. Lock that elbow and treat it like a fused steel rod.
3. The tall sit
Straighten the left arm, pushing the floor away to come up onto your hand. Chest tall, both arms now stacked vertically, the loaded arm directly over the shoulder. The free hand bears real weight, this isn't a touch-and-go.
4. The hip bridge to sweep
Drive your right heel down and lift your hips. Sky-high glutes. With the hips up, sweep the straight left leg under and behind you, planting the knee roughly under your left hand. You're now in a three-point stance: right foot, left hand, left knee.
This is where most get-ups go sideways. Literally. If you don't bridge high enough, the sweeping leg has nowhere to go and you'll twist your knee trying to force it.
5. The half-kneeling windshield wiper
Lift the left hand off the floor. You're now in a half-kneeling position with the bell still locked overhead. Rotate the back leg so your shin runs straight back instead of out to the side. This sets up your standing line.
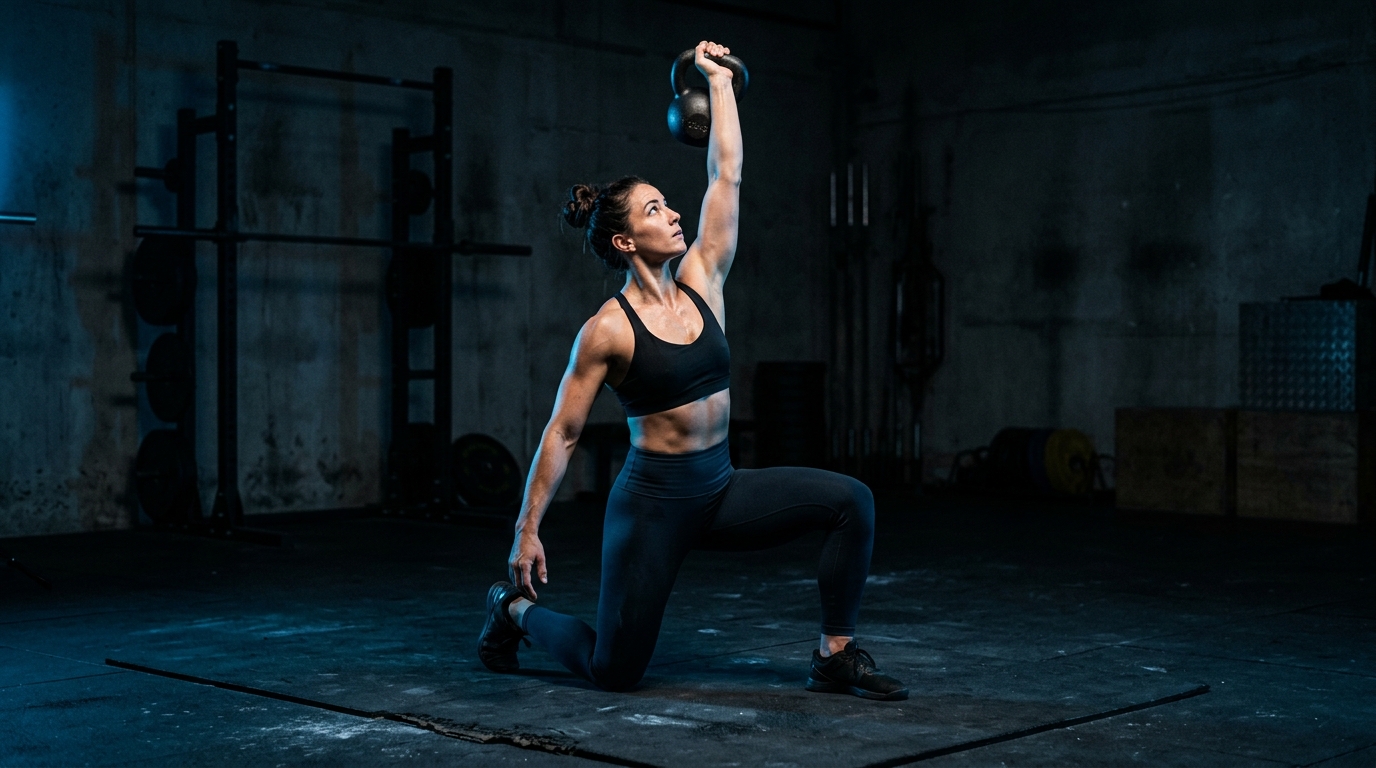
6. The lunge to stand
Drive through both legs. Stand up straight. Bell still overhead. Feet together at the top, or close to it. You should look like someone holding a one-arm overhead press with no idea how they got there.
7. The reverse
Now you go back down. Same seven positions in reverse order. The descent is where lifters get cocky and dump the bell. Don't. Eyes on the bell until the very end, when you safely two-hand it back to the floor.
Breathing through the lift
Get-ups punish breath-holding. You're under load for 30 to 60 seconds per rep, and bracing the entire time will leave you gassed and shaky. Use a position-by-position breath: inhale before each transition, exhale through the hard part, reset at each stable shape. I wrote more about this in breathing patterns for heavy swings and cleans, and the same principles apply but with longer phases.
The errors I see most
- Loaded elbow bending. The arm is a pillar. If it bends, abort and reset.
- Eyes leaving the bell too early. Watch it until you stand.
- Skipping the bridge. Without high hips, the sweep becomes a knee twist.
- Rushing. A good get-up takes 40 seconds. A great one might take a minute.
- Loading too heavy too soon. If you can't do an unweighted shoe-balance get-up cleanly, you're not ready for a 24kg bell.
The shoe drill is real, by the way. Balance a shoe on your fist and do the whole sequence without it falling. If the shoe drops, your wrist or shoulder alignment is off, and you've just diagnosed your weakest position.
Programming the get-up
Get-ups don't need volume. They need quality. Here's a starting framework:
| Goal | Sets x Reps | Load | Frequency |
|---|---|---|---|
| Skill development | 5 x 1 per side | Light to moderate | 2-3x per week |
| Strength | 3-5 x 1 per side | Heavy (RPE 7-8) | 1-2x per week |
| Warm-up tool | 2-3 x 1 per side | Light | Before main work |
| Conditioning | EMOM 10 min, 1 per side | Moderate | 1x per week |
A single rep per side is a set. There's no such thing as "5 reps" of a get-up. Five reps is five sets of one. Period.
Because the lift takes 40 to 60 seconds and demands deliberate pacing, an interval timer beats a stopwatch. Set 90 seconds work, 30 seconds rest, alternate sides, and you've got a clean 10-minute get-up block that doesn't require mental math mid-lift. Set up the timer in FlowTimer so you stop counting reps in your head and actually focus on the bell.
Where it fits in your week
I like get-ups as the bridge between mobility work and the main lift. They warm up the shoulder under load, demand attention, and prime the nervous system without burning the legs or grip the way swings do. Pair them with the windmill on overhead-focused days, or use them as the only lift on a deload week. A 10-minute get-up session at moderate load is genuinely productive training, not filler.
The lift will frustrate you for months and then click. When it does, you'll realize your press got heavier and your shoulder stopped complaining, and you won't remember exactly when either started happening.
Ready to put this into practice? FlowTimer lets you build custom interval workouts, set precise work-to-rest ratios, and train with audio cues so you can focus on your form.
Try FlowTimer Free